
How To Recognise Good Before-And-After Photographs
 By Becki Murray
21st February 2024


LOADING . . . PLEASE WAIT
TWEAKMENT & SKINCARE FINDER
CHOOSE AN AREA OF THE FACE OR BODY TO CHECK OUT YOUR SKINCARE AND TWEAKMENT OPTIONS

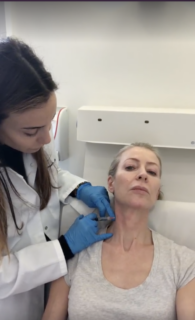
Before-and-after photos can be an incredibly helpful tool when considering an aesthetic tweak – whether that’s injectables, laser or RF microneedling. Not only can they indicate what you might be able to expect from your chosen treatment, but they can also give a suggestion about how skilled your practitioner is (as long as the photos are actually their own work). However, working out what are ‘good’ and ‘bad’ before-and-after photographs can be tricky, despite the distinction being really important.
To get you the advice you need to make the best decisions, we spoke to Dr Stefanie Williams – the dermatologist and medical director of Eudelo Dermatology & Skin Wellbeing. In her new clinic, she has all the resources a practitioner could dream about for ensuring high-quality before-and-after photographs. Here’s what you need to know…
For before treatment
One of the main benefits of getting your hands on some example before-and-after photographs for your chosen treatment is to help you visualise the results you may be able to achieve. It’s easier to contextualise ‘reduces hyperpigmentation’, ‘smooths wrinkles’ and ‘provides a ‘lifting effect” with the help of images after all. Ask your practitioner to show you examples of their past clients – but try to be specific. You’ll get more tailored guidance on what’s achievable if you can see past patients who are similar in age, ethnicity and skin concerns to you.
Similarly, your own before photograph taken pre-treatment can help you define what you really want to have done before taking the leap. In fact, Dr Williams prefers taking photos over having a client simply look in the mirror: “In a mirror, we tend to zoom in immediately onto certain features we don’t like about ourselves, but tend to not see the bigger picture. Looking at photographs allows a more objective assessments and discussion with the patient about what the real issues are.”
For after treatment
Before-and-after photographs can also help you analyse your results objectively post-treatment: “It is not uncommon for patients to not remember how exactly their skin looked before,” reveals Dr Williams. “We see ourselves in the mirror every day, so incremental changes that take place over time (e.g. after regenerative treatments) may not be noticed. Or we simply forget how we looked before, because we don’t see ourselves objectively, and may suddenly notice other flaws that were already present, but we had not really seen. For example, I had a patient who was convinced that her filler treatment had “caused” a red mark on her skin, but her before images showed it was there before treatment.”
Keeping everything standardised
Check that the photos have been taken in as consistent a fashion as possible: “My recommendation is that the images are taken sitting on the same chair each time, in front of the same uniform background and with the patient wearing the same dark drape, and no jewellery,” reveals Dr Williams. “The patient’s hair should be tied back, if long, and make-up should have been removed.”
Controlled lighting
The lighting must be consistent between the images, and not create shadows on the face. That’s why Dr William’s uses a special dedicated photo booth in her clinic. “Consistent lighting can only ever be achieved if the photography station does not have natural light coming in, as otherwise we are always at mercy of ever-changing light coming in through the window.”
Angle checks
To give you the best overview of the full face, images should be taken from multiple, defined angles, with the practitioner having turned the stool not the patient’s face, according to Dr Williams. Check that the chin is not lifted, and that the person’s expression has a relaxed neutral expression in each. The only exception is if you are looking to tackle animation lines. These should be captured as separate, additional images for controlled comparison.
You also want the after photograph to match as exactly as possible the same body and facial position and angles as the ‘before’ examples. This can be tricky but many practitioners like Dr Williams now use clever ‘ghost feature’ photography devices to make this simpler.
Filters
“It goes without saying that clinical before-and-after images should never be filtered, but sadly I see this all too often on social media,” says Dr Williams. “Also, photos with visible make-up are a no-no (or even worse – no make-up on the before photo, but full make-up on the after – I have seen it all!), as are sunglasses and hair covering part of the face.”
Bad lighting
Dr Williams continues: “If you see a before image that has shadows on the face (which always makes people look worse), but no shadows on the after image, you can’t trust the suggested improvement. Better lighting goes a long way in making the skin look better.” That’s why it is so important that the images have the same background, posture and lighting.
Different facial expressions
“Most people look better when smiling, as a smile gives the cheeks more volume, lifts facial features and ‘tightens’ the jawline, so it’s also all too easy to fake an improvement in facial volume and contours by simply making the person smile on the after image,” warns Dr Williams.
“A false impression of jawline tightening can also be achieved by simply having the chin in a slightly lower position in the before image, so it’s important that the chin position is consistent. I always make sure to manually adjust my patient’s chin to a neutral position before taking an image, as people have an automatic tendency to lift their chin if somebody is taking a photo of them.”
Timing
“The last thing I often notice on social media are after images taken immediately after, for example, filler treatment, when the skin is still a little red and puffy from the injections,” concludes Dr Williams. “Proper after images should be taken on a different day, once things have fully settled! This is also important, because most fillers contain local anaesthetic, which can slightly change muscle movements. A numb face is not an objective after image!”
To find the right practitioner for your personalised needs and concerns, head to our practitioner finder tool here on the website.
Tweakments
Lifestyle

Skincare
Please enter your name, email address and question for Alice.
Concerns
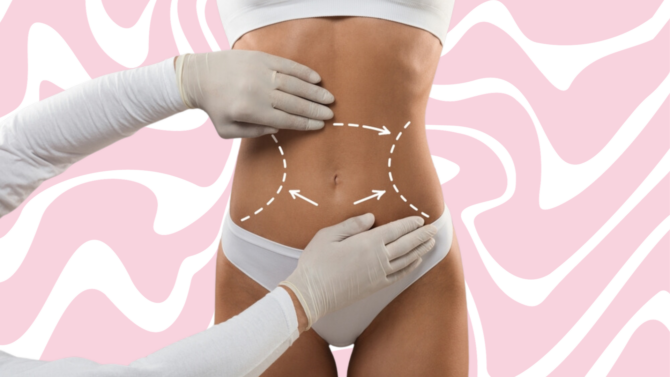
If you are struggling with stubborn fat and sagging skin that doesn’t want to budge even with a healthy...

Concerns
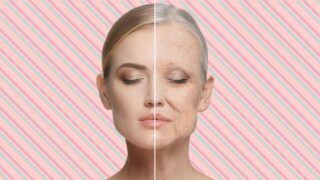
From providing an instant skin glow to targeting fine lines and sun damage, the next generation of advanced...
Concerns
The clocks have gone back and the nights are getting colder – but at least there’s a light at the...

Concerns
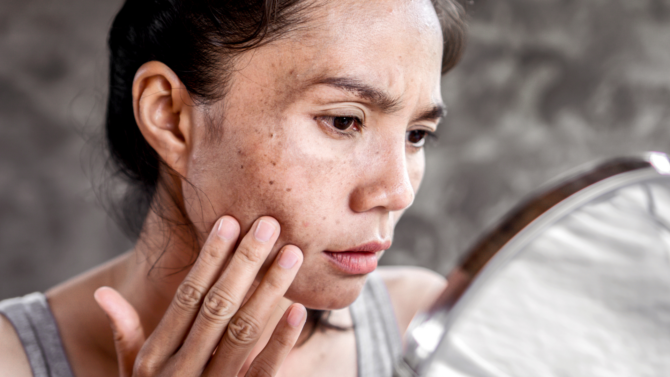
For anyone looking for an alternative to wrinkle-relaxing toxin injections, ‘NoTox’ skincare,...
Hi, I’m The Tweakments Chatbot.
I have been designed to help you get information and advice on your concerns. I am currently in training. In case I am unable to answer your question, I would like to ask for some details, so that Alice or one of our team can contact you and ensure you get all the advice you need.